

Projects
Everything you do in the studio happens in a project. A project points at one or more folders on disk (usually resource folders on your server) and remembers your edits: which slot each piece is in, flags, outfits, handling versions and so on.
There are three kinds:
| Kind | For |
|---|---|
| Clothing | Clothing packs (.ydd, .ytd, .ymt, shop .meta) |
| Vehicle | Vehicle resources (.yft, .ytd, handling.meta, carvariations.meta and other metas) |
| MLO | Interiors and maps (.ydr, .ytyp, .ymap, .ybn) |
The Start page
Section titled “The Start page”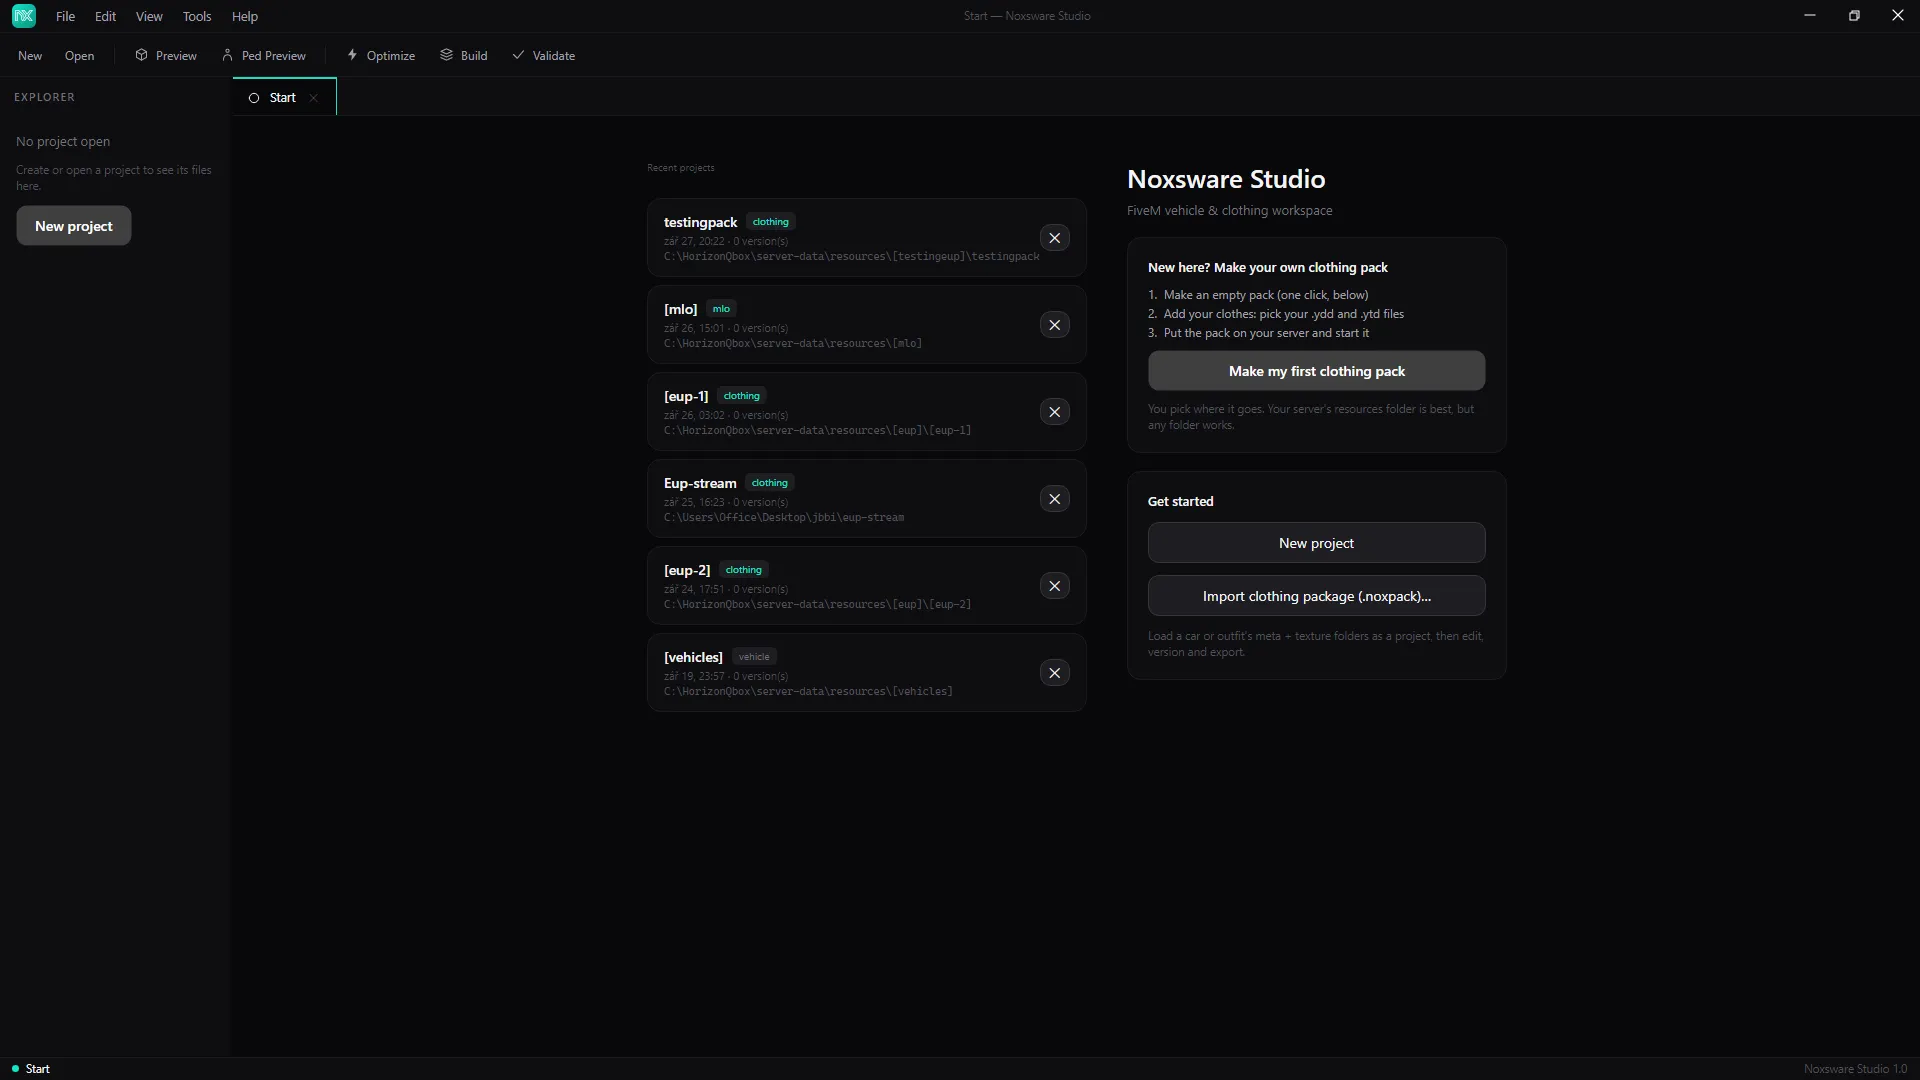
- Recent projects on the left. Click a card to open it. Each card shows the kind, when you last changed it, how many versions it has, and its folder. The ✕ removes the project from the studio. Your files on disk are not touched.
- New here? Make your own clothing pack makes an empty clothing pack in one click. See Your first clothing pack.
- Get started → New project opens the wizard below.
- Import clothing package (.noxpack)… opens a clothing package someone exported from the studio.
Make a project
Section titled “Make a project”- Click New project.
- Pick the Project type: Vehicle, Clothing or MLO.
- Type a Project name, for example EMS pack rework.
- Add Project folders:
- Add folder… for a resource folder you already have (or several). Each one shows what was found in it, like 42 meta · 310 ytd · 120 model(s).
- Create new folder… if you’re starting from nothing. For clothing projects, the new folder is a ready, empty pack.
- Click Create project ▸ (or Create clothing project ▸ / Create MLO project ▸).
For clothing projects the studio then reads every model and texture and sorts the clothes. You’ll see Resolving wardrobe… while it works. Large packs take a few seconds.
Saving
Section titled “Saving”There is no Save button. The studio saves the project by itself half a second after each change.
Some actions change your pack files on disk straight away: adding clothes, hiding, deleting, heel height and hair squash. Each one keeps a backup and can be undone. See Move, copy, hide and delete.
Where projects live
Section titled “Where projects live”Projects are kept by the studio, not as files you save yourself: one folder per project under
%AppData%\Noxsware\Projects\<project>\with project.json (the project), history\ (saved versions) and build\ (default build output). To move your projects to a new PC, copy the whole %AppData%\Noxsware\Projects folder across. Project folders that point at your server must exist at the same paths on the new PC.
Sharing a clothing project
Section titled “Sharing a clothing project”On Build clothing → Advanced, Export .noxpack… writes a single .noxpack file with the project and its source files. Someone else opens it with Import clothing package (.noxpack)… on their Start page.