Ped preview and outfits
Ped Preview
Section titled “Ped Preview”Ped Preview puts clothes on a real freemode ped in 3D.
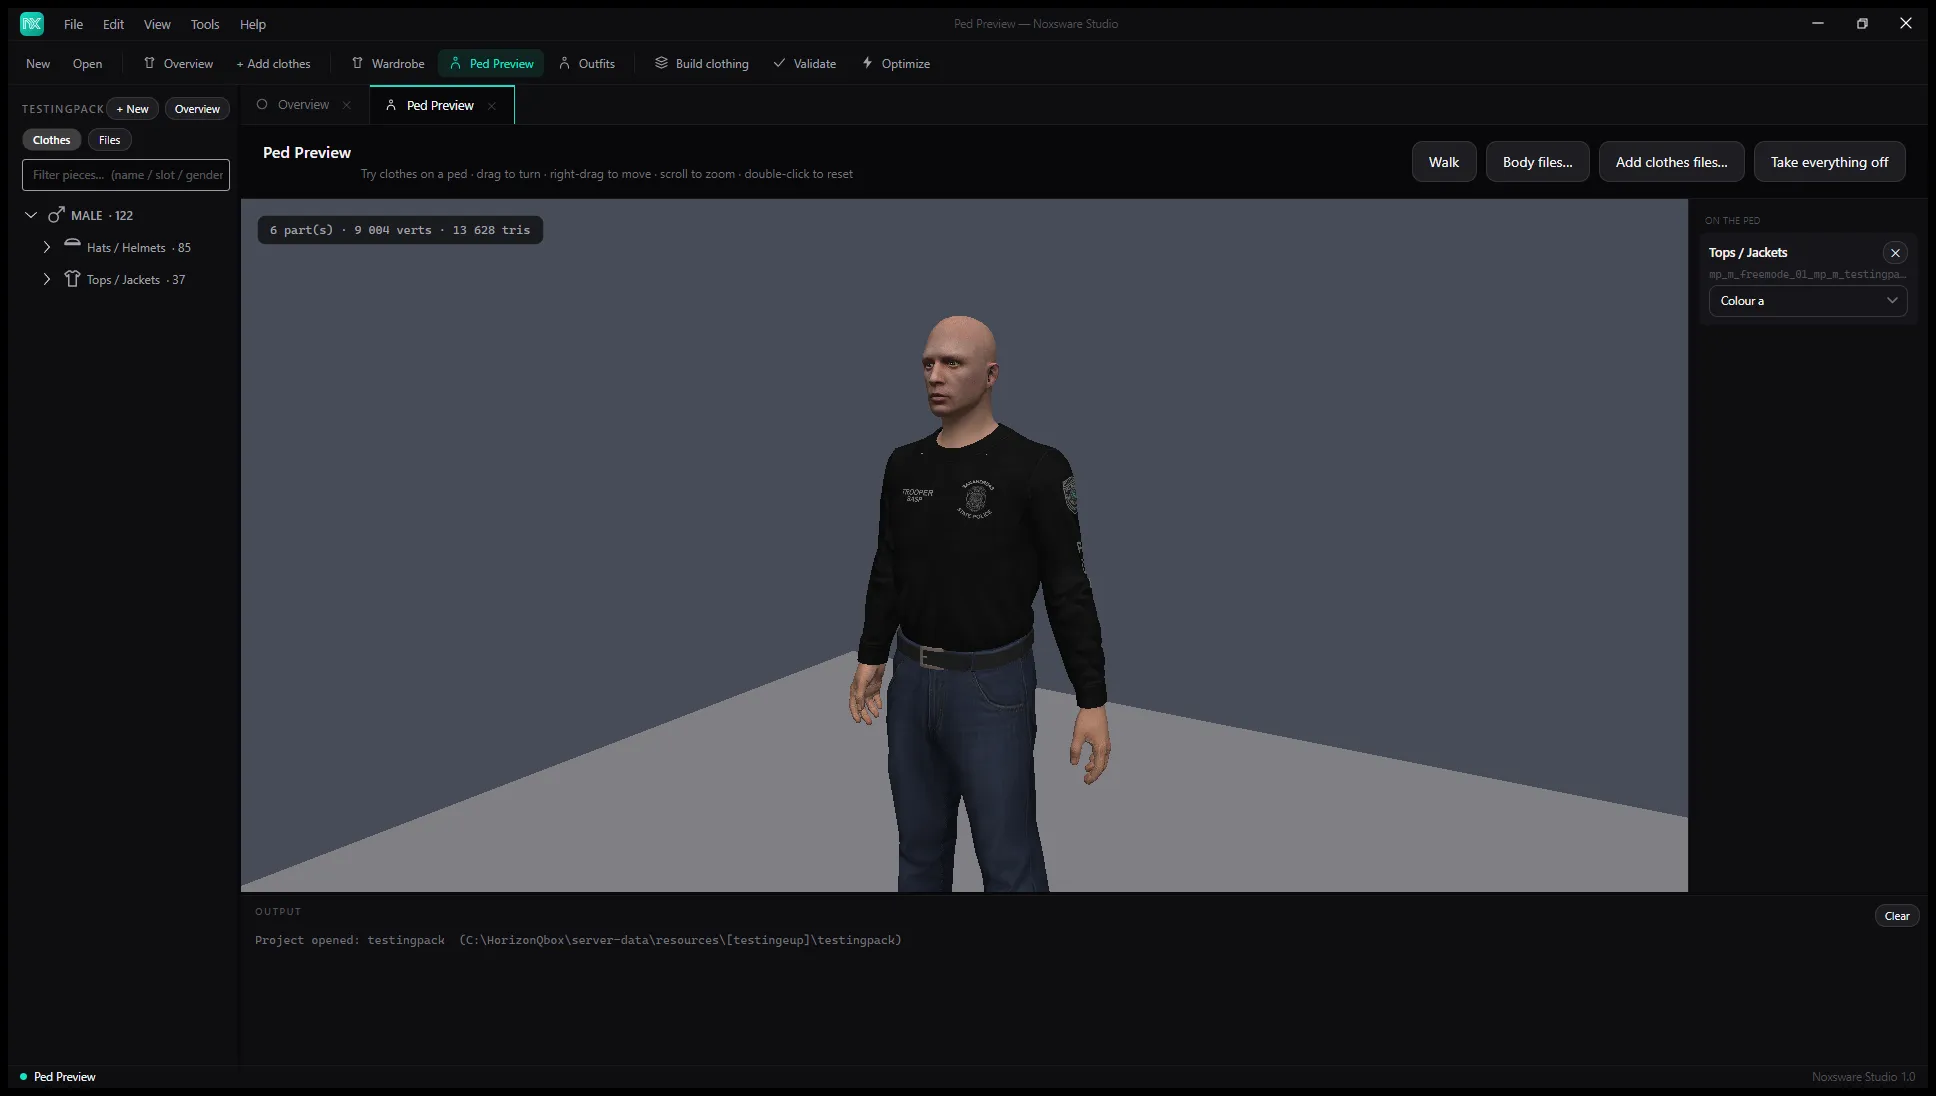
How to get clothes on the ped:
- On a piece page, click Preview on ped. Each piece you preview is added, so you can build up a whole outfit.
- Right-click a piece in the Explorer → Preview on ped.
- Drag
.yddfiles from Windows onto the page, or click Add clothes files….
On the right, On the ped lists what’s on. Pick a colour for each from its list, or remove it with ✕. Take everything off clears it.
Buttons along the top:
- Walk plays a walk cycle (Stop ends it). Good for checking clipping.
- Body files… picks the folder with the bare ped body, if the studio couldn’t find it in your GTA V install.
Mouse: drag to turn, right-drag (or middle-drag) to move, scroll to zoom, double-click to reset.
Where the ped body comes from
Section titled “Where the ped body comes from”The bare body under the clothes comes from your own GTA V install. The studio finds it by itself (Steam, Rockstar Launcher and Epic installs, including Grand Theft Auto V Legacy) and keeps a copy in %AppData%\Noxsware\baseped. If it can’t, previews show the clothes without a body and say Shown without a body: the ped body from GTA V has not been found yet. Use Body files… or Settings → Base ped folder to point at it.
Outfits
Section titled “Outfits”Outfits builds a full outfit from your project’s pieces, one per slot.
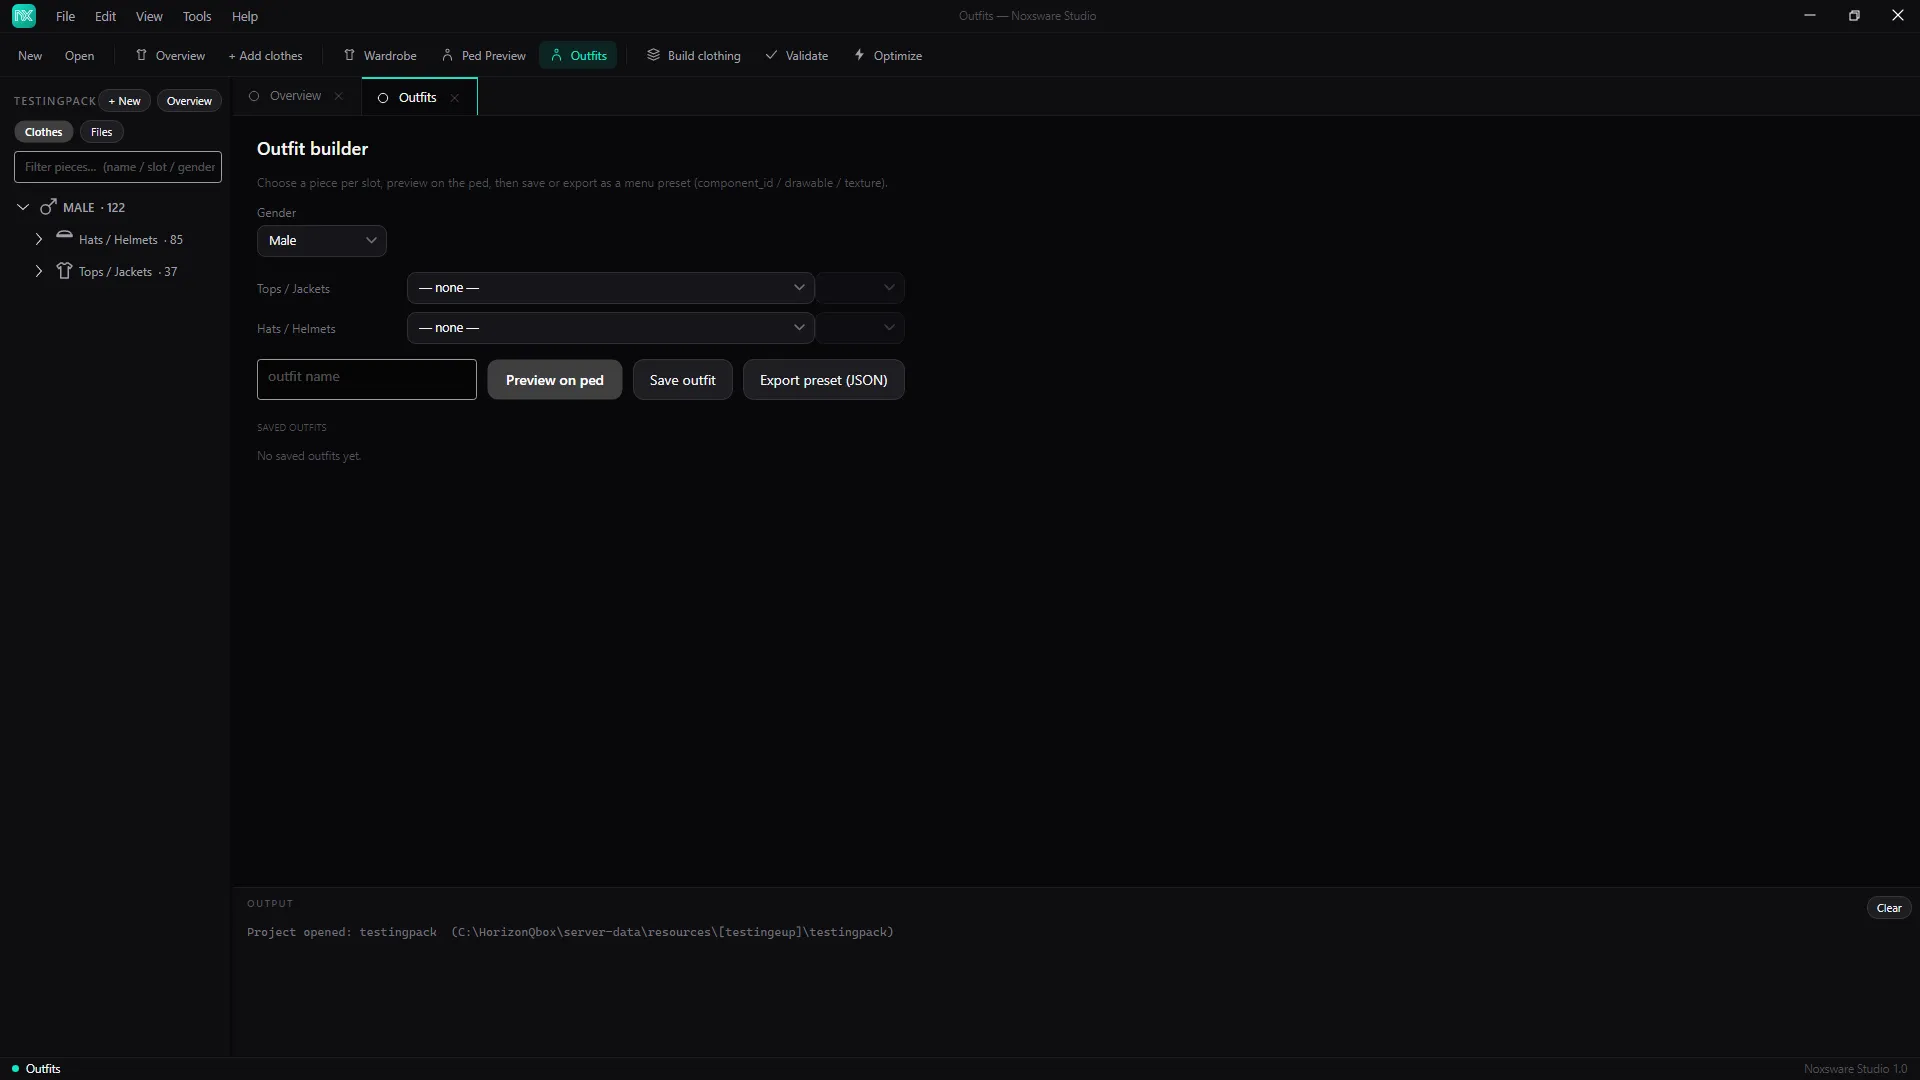
- Pick Male or Female.
- Pick a piece for each slot you want. Leave the others empty.
- Click Preview on ped to see it.
- Type an outfit name and click Save outfit. It appears under Saved outfits.
- Export preset (JSON) writes the outfit as
component_id / drawable / texturevalues for clothing menus and scripts.
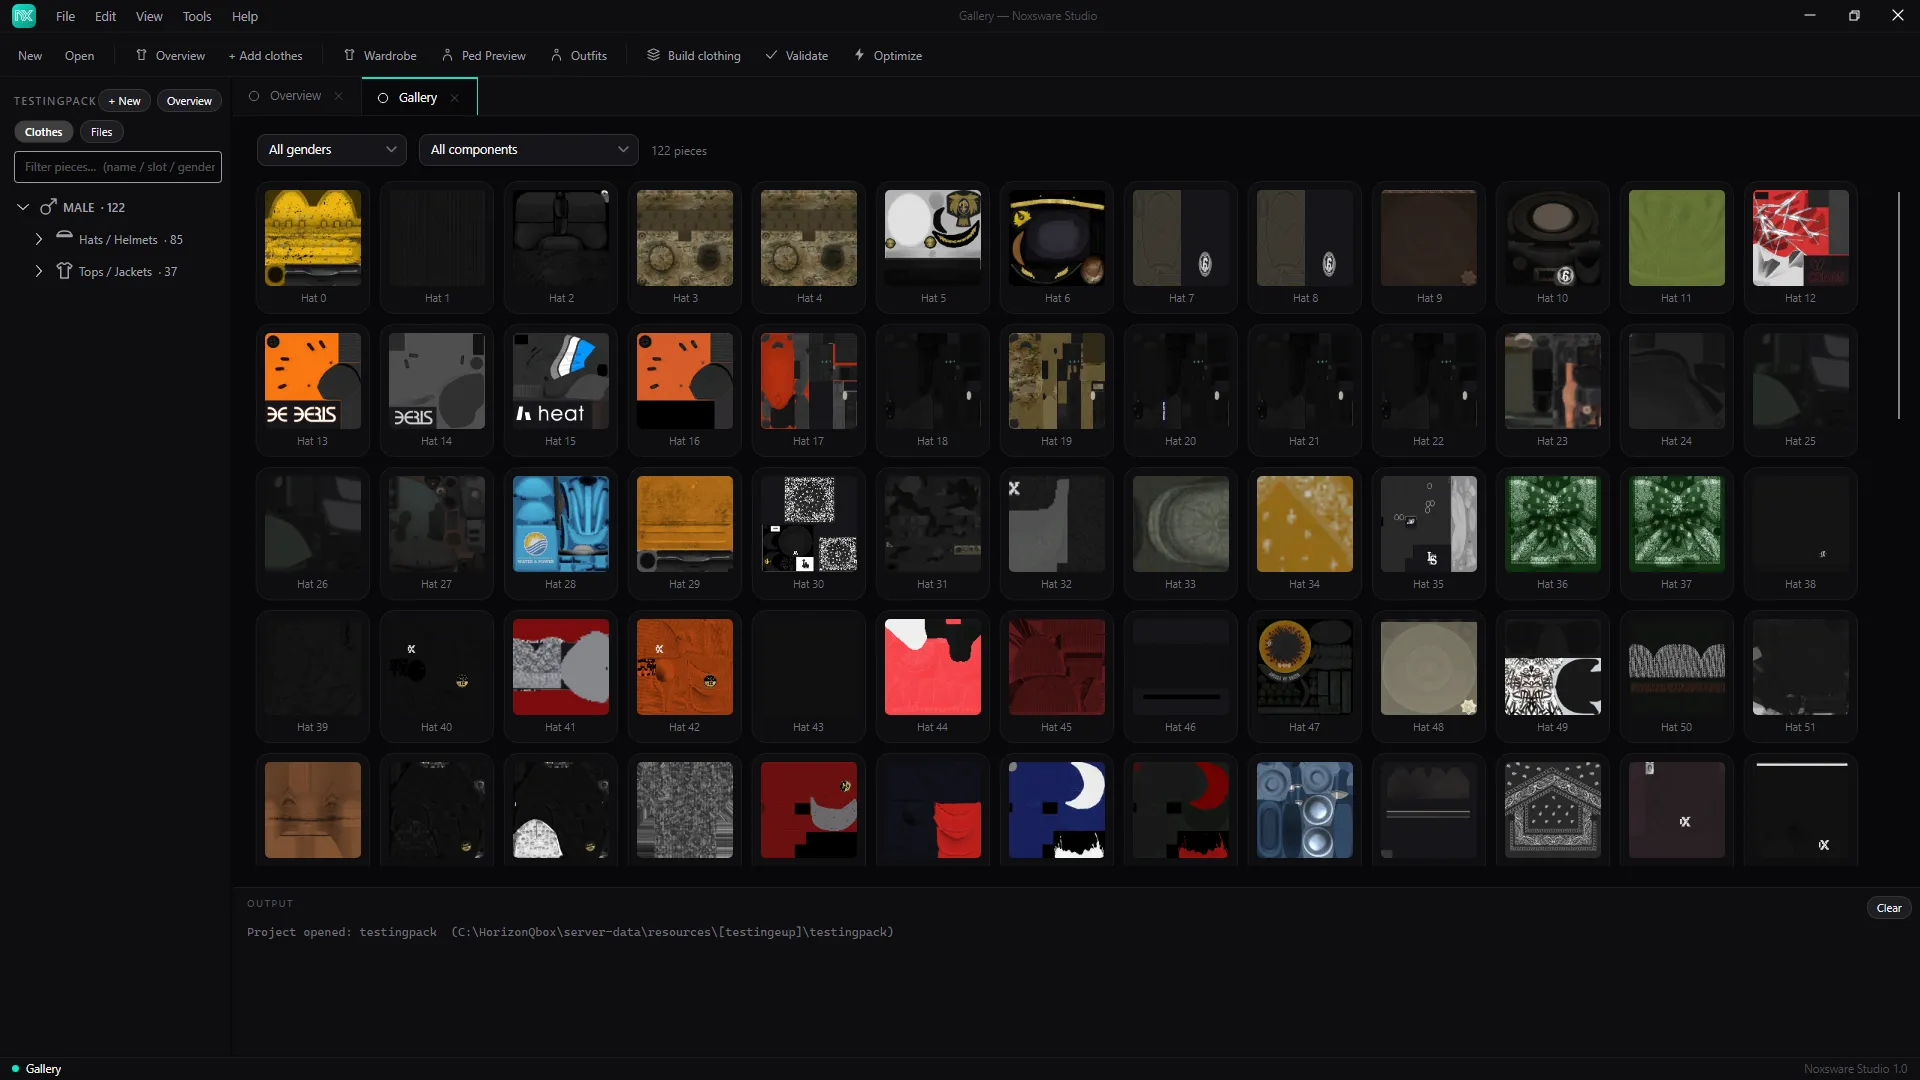
Gallery
Section titled “Gallery”Tools → Gallery shows thumbnails of your pieces in a grid, filtered by gender and kind. Handy for spotting duplicates and missing textures at a glance. It shows up to 400 at once.