

Your first clothing pack
This walkthrough takes you from nothing to clothes in game. It takes a few minutes. You need the clothing files you want to add: a .ydd model per piece, plus one .ytd texture file for each colour of it.
1. Make an empty pack
Section titled “1. Make an empty pack”Open Noxsware Studio. On the Start page, find the card New here? Make your own clothing pack.
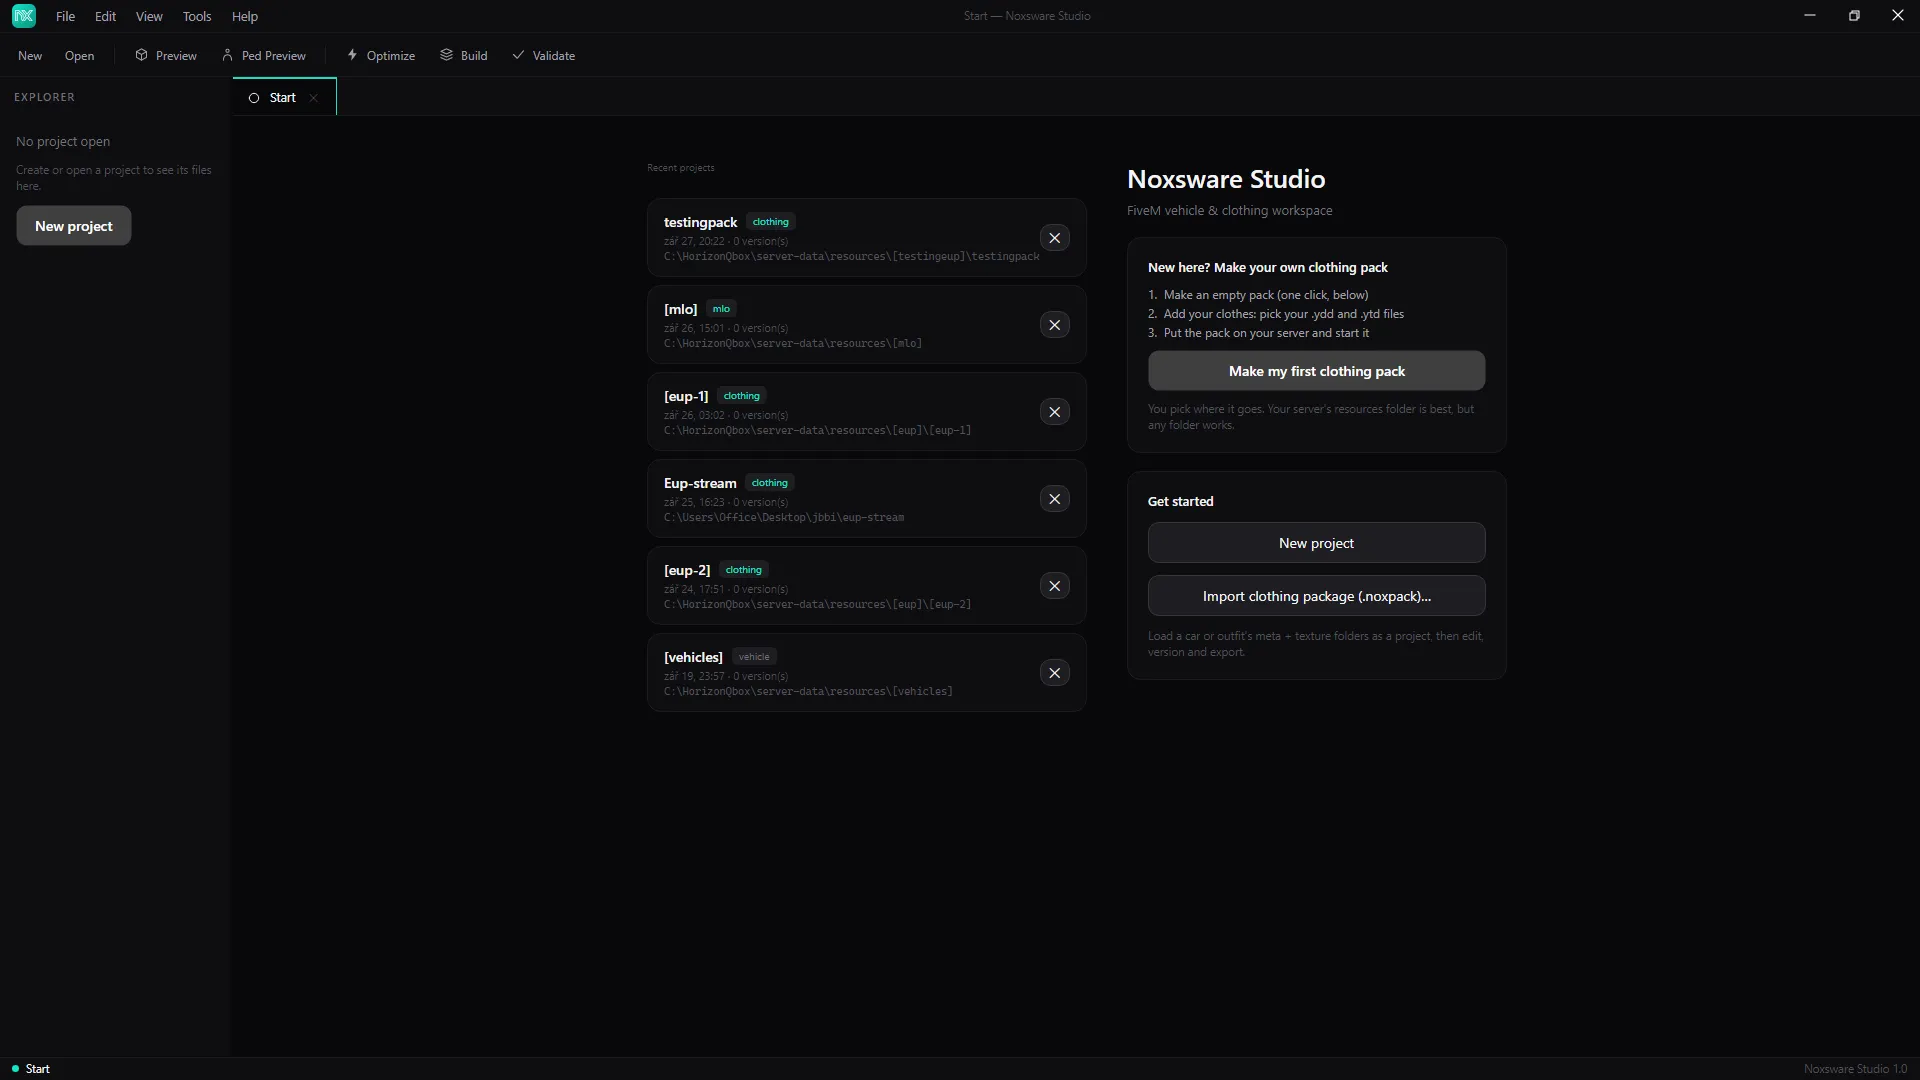
- Click Make my first clothing pack.
- Pick where the pack goes. Your server’s
resourcesfolder is best, because the studio can then install the pack for you, but any folder works. - Name your pack. This becomes the pack’s folder name, and the name the game knows your clothes by. Use lower-case letters, digits,
-and_only, and pick something that says whose clothes these are, likepolice_uniforms. The dialog shows what it will make:- Folder:
…\police_uniforms - Men:
mp_m_freemode_01_mp_m_police_uniforms - Women:
mp_f_freemode_01_mp_f_police_uniforms
- Folder:
- Click Make the pack.
The studio creates the pack (an fxmanifest.lua, an empty men’s and women’s .ymt, and shop metas), creates a project for it, and opens the Add clothes wizard.
2. Add your clothes
Section titled “2. Add your clothes”The wizard has four steps.
Step 1, What have you got? Click Some clothes — pick the files, then select the .ydd files. You don’t need to pick the .ytd colour files: the ones next to each .ydd come along automatically.
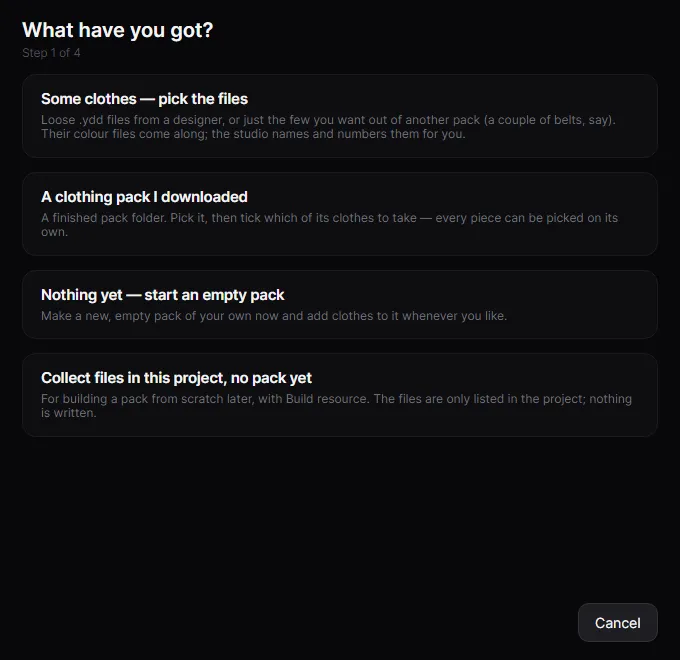
Step 2, This is what I found. The studio groups what it found by kind and by who wears it, for example 8 pieces — Legs / Pants, men · 24 colour file(s). Untick anything you don’t want, or use Choose pieces… to pick piece by piece with thumbnails.
If it can’t tell what some pieces are from their file names, it shows a yellow card: I could not tell what these are from their names. What are they? Pick the kind and men/women, then click That’s right.
Step 3, Where should they go? Your new pack is already selected. Leave Also list them in the in-game clothing stores ticked unless you only use a clothing menu script.
Step 4, Here is what will happen. Read it once. It says exactly which numbers each piece gets, for example 3 × Tops / Jackets for men go in as items 47–49 of that kind. Click Add the clothes.
Full details: Add clothes.
3. Check it
Section titled “3. Check it”When the wizard is done, the Overview page tells you what to do next. If it says Your pack is ready. Put it on your server, you’re good.
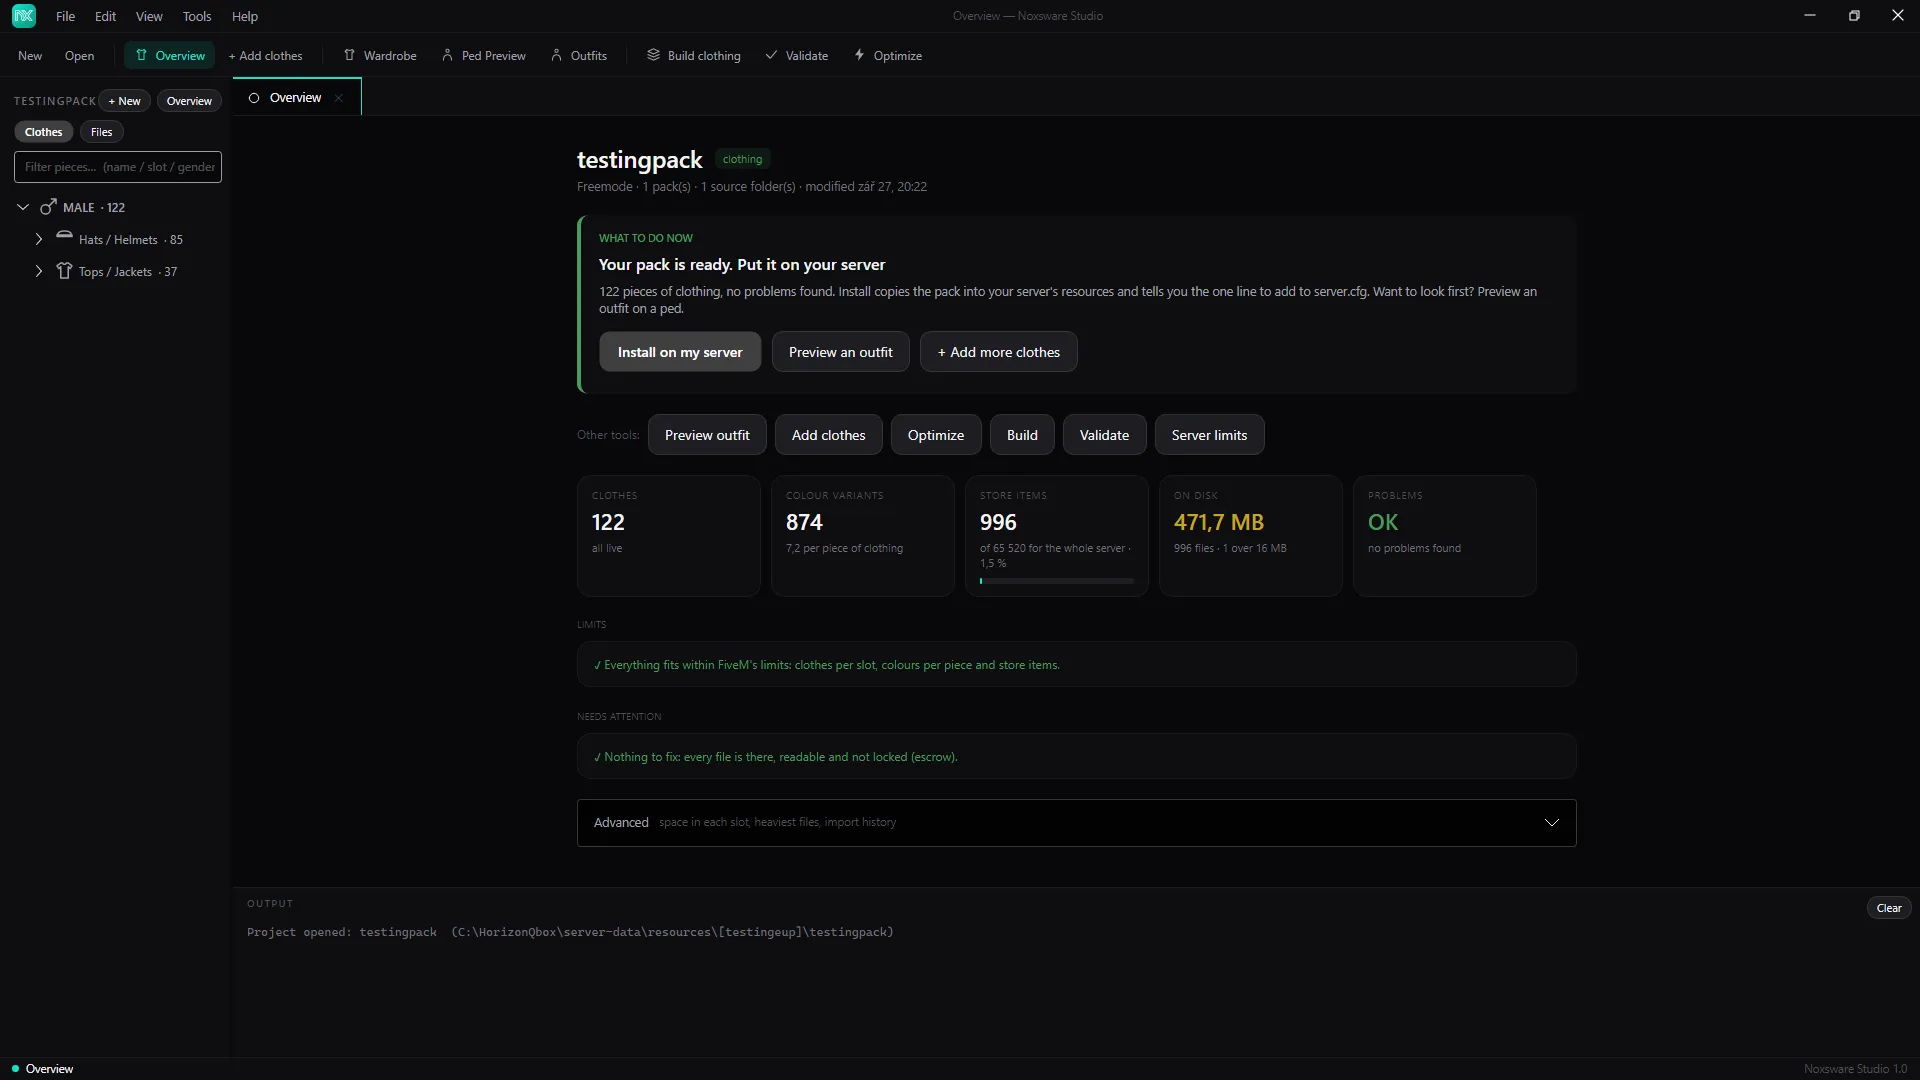
Open Ped Preview in the toolbar, or click a piece in the Explorer on the left and click Preview on ped, to see your clothes on a ped before you go in game.
4. Start it on your server
Section titled “4. Start it on your server”If you made the pack inside your server’s resources folder, it is already where it needs to be. Add one line to your server.cfg, then restart the server:
ensure police_uniformsThe wizard’s last page has a Copy the server.cfg line button for exactly this.
If the pack is somewhere else, click Install on my server… on the Overview page. The studio copies the pack into your server, shows you the ensure line, and keeps a backup of server.cfg as server.cfg.noxbak before touching it. See Put it on your server.
5. Find your clothes in game
Section titled “5. Find your clothes in game”Your new pieces show up:
- in the vanilla clothing stores, if you kept Also list them in the in-game clothing stores ticked, and
- in clothing menu scripts that read the pack, such as fivem-appearance, illenium-appearance and qb-clothing.
Pieces are added after the ones already in a pack. Nothing already there changes number, so outfits that players saved keep working.
Changed your mind?
Section titled “Changed your mind?”File → Undo an import… takes an import back, files and all.