

The main window
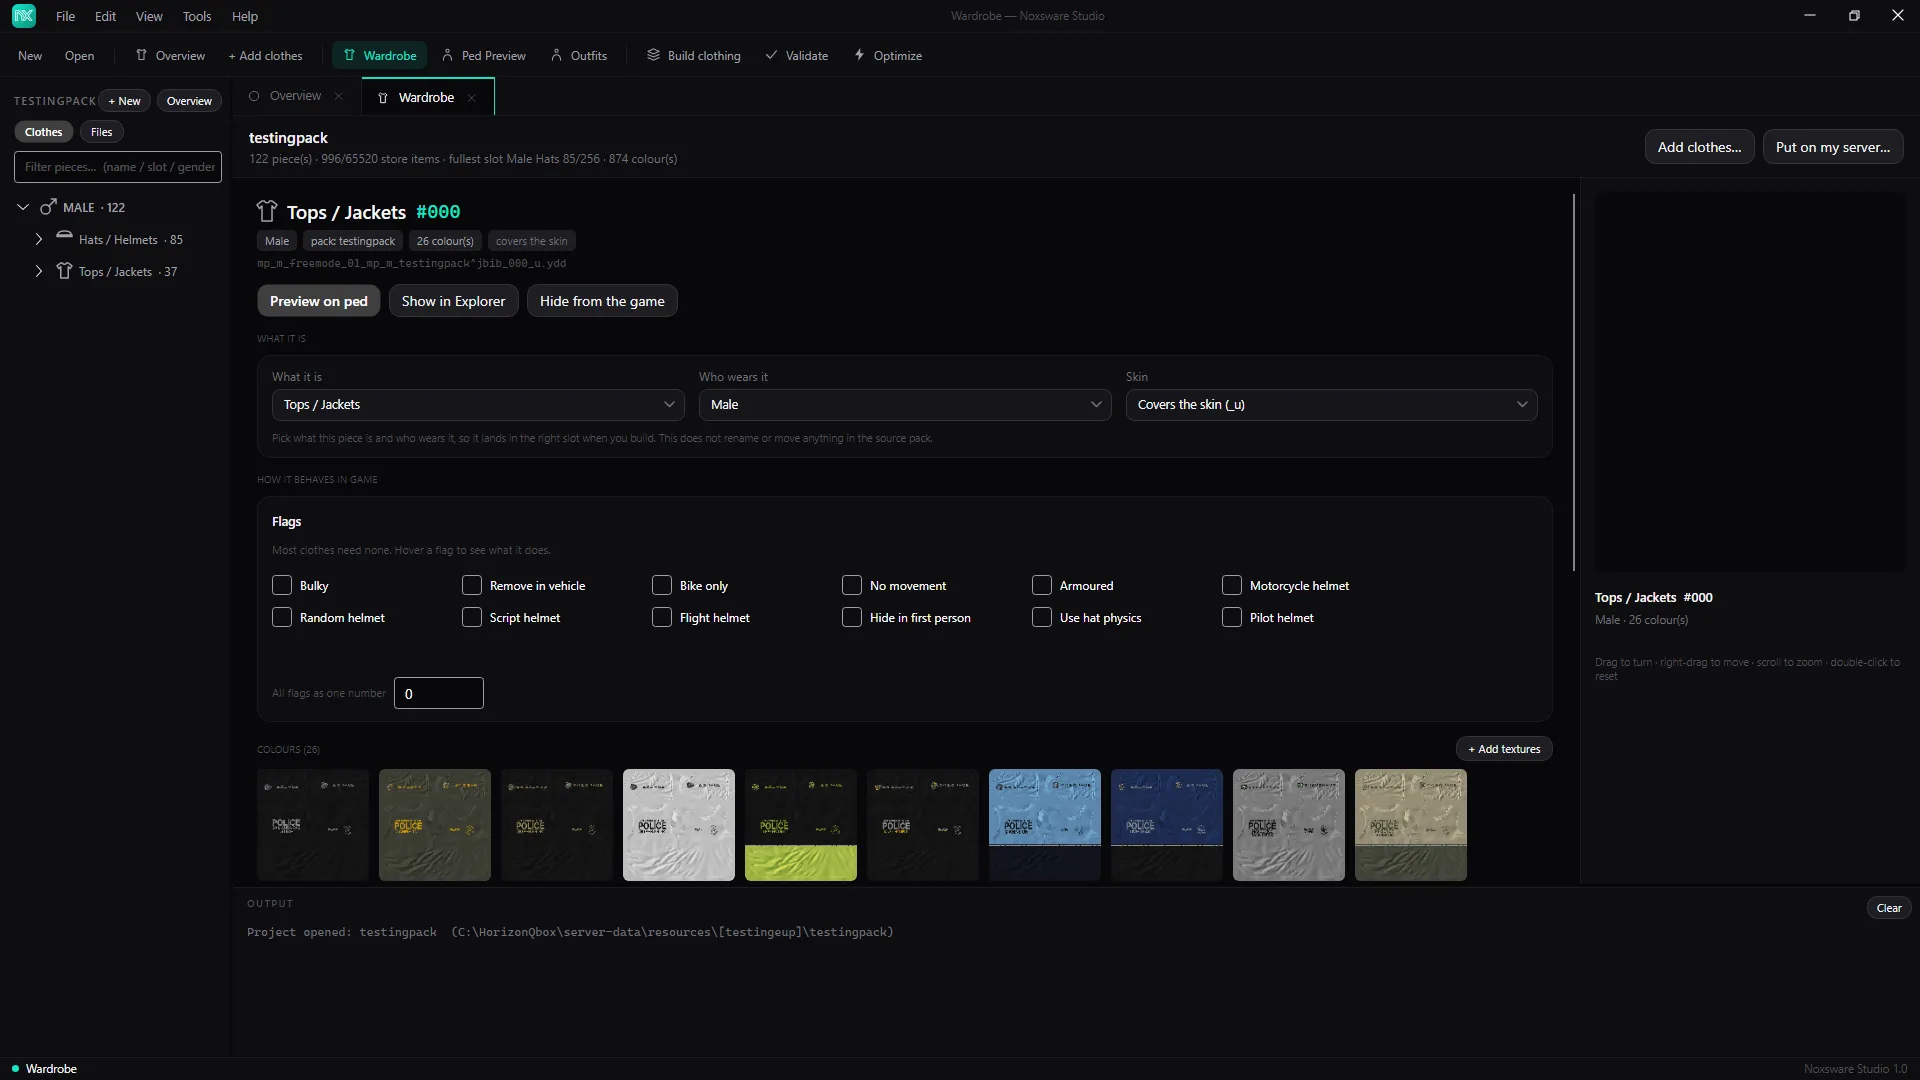
From top to bottom:
- Title bar with the menus File · Edit · View · Tools · Help. Double-click the empty part to maximise.
- Toolbar. Shortcuts to the pages that matter for the kind of project you have open.
- Explorer on the left: your clothes or your project’s files.
- Tabs on the right. Every page opens as a tab; several can be open at once. Close one with its ✕.
- Output panel at the bottom: a log of what the studio did. It opens by itself when something is logged. Clear empties it.
- Status bar: the last thing that happened on the left, a progress bar while something runs, and the version on the right.
| Item | What it does |
|---|---|
| New Project… / Open Project… | Go to the Start page. See Projects. |
| Add clothes… (guided) | The Add clothes wizard. |
| Import piece from another pack… | Copy one piece from another pack into yours, at a number you choose. See Import from other packs. |
| Import pieces from another pack (whole pack)… | Copy many pieces at once. |
| Undo an import… | Take back any earlier import, files and all. |
| Advanced → Restore originals (undo every in-place rewrite) | Puts back every file the studio has rewritten in place (.ymt, shop metas, optimized textures) from its .noxbak backups. |
| Advanced → Reimport clothing flags from source | Reads the flags back from the pack’s .ymt files into the project. |
| Advanced → Write flags to binary .ymt (from source) | Writes the project’s flags into copies of the .ymt files in a folder you pick. |
| Exit | Close the studio. |
Undo (Ctrl+Z) and Redo (Ctrl+Y) work in clothing projects, for changes you make to pieces (slot, gender, flags and so on). Up to 50 steps. They do not undo file operations such as imports. Use File → Undo an import… for those.
- Explorer: show or hide the left panel.
- Output: show or hide the log.
- Close all tabs.
Every page in the studio, in one list: Overview, Preview, Handling, Emergency lights, Interior files, Map conflicts, Wardrobe, Build clothing, Tattoos, Flags, Gallery, Ped Preview, Outfits, Optimize, Git, Build, Validate, Server limits, Library and Settings. The toolbar only shows the most useful ones, so use this menu for the rest.
- Clothing guide: a short in-app read on how clothing packs work.
- Handling reference: what every handling field means, at noxsware.com/help/handling.
- Get help…: opens noxsware.com/help.
- Open error log: shows
errors.login Windows Explorer, or says No errors have been logged. - Copy error log: puts the end of the log on the clipboard, with the studio version on top, ready to paste into a message to support.
- License…: the License window.
- About Noxsware Studio: shows the version and your plan in the status bar.
Update notice
Section titled “Update notice”Once per start, the studio asks noxsware.com whether a newer version is out. If there is, a bar under the toolbar says Noxsware Studio 1.1.0 is available. with a short note of what changed:
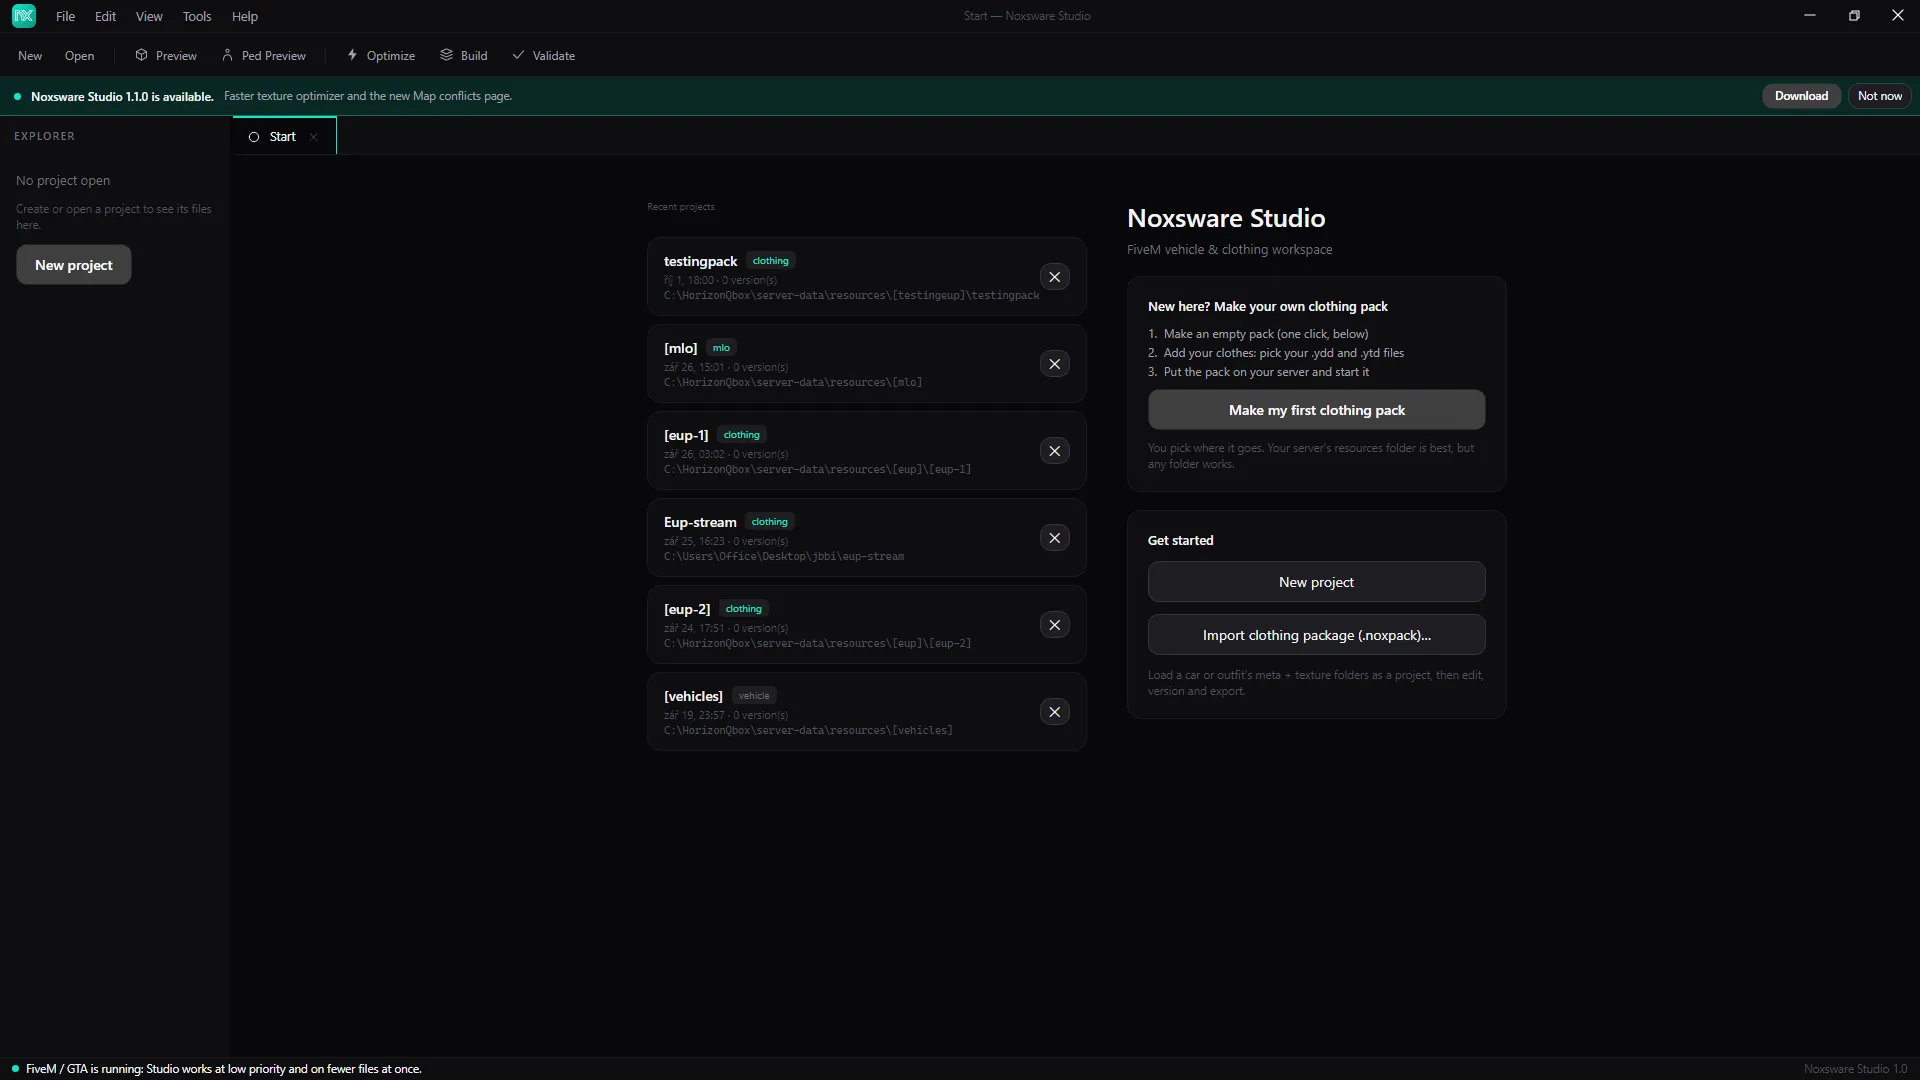
- Download opens the client portal, where you download the new
.exeand replace the old one. - Not now hides the bar until the next start.
Nothing is downloaded or installed on its own. Offline, the check says nothing. Turn it off in Settings → Updates.
The toolbar
Section titled “The toolbar”It changes with the open project:
| Project | Toolbar |
|---|---|
| None | New · Open · Preview · Ped Preview · Optimize · Build · Validate |
| Clothing | New · Open · Overview · + Add clothes · Wardrobe · Ped Preview · Outfits · Build clothing · Validate · Optimize |
| Vehicle | New · Open · Overview · Preview · Handling · Emergency lights · Optimize · Build · Validate |
| MLO | New · Open · Overview · Preview · Interior files · Map conflicts · Optimize · Build · Validate |
The Explorer
Section titled “The Explorer”The header shows the project’s name with two buttons:
- + New: make a folder, or bring files and clothes into the project. It also has Refresh and Open the project folder in Windows.
- Overview: jump to the project’s Overview page.
In clothing projects, a switch picks the view:
- Clothes: your clothes, sorted by men and women and then by kind, in plain words such as Tops / Jackets. Hover a row for the game’s code and number (
jbib · component 11), or a piece for a preview card. - Files: the folders and files on disk. It updates by itself when files change outside the studio.
Filtering
Section titled “Filtering”Type in Filter pieces… to narrow the list by name, slot or gender. Two special words:
!tex(ornotex) shows pieces that have no colour files.reviewshows pieces the studio could not classify. Set their kind on the piece page.
Right-click menus
Section titled “Right-click menus”| On | Items |
|---|---|
| A piece | Open · Preview on ped · Show in Explorer · Show textures in Explorer · Optimize textures (N) · Copy path · Copy file name |
| A group (men, a slot, a range) | Expand all · Collapse all · Show folder in Explorer · Optimize textures (N) · Copy folder path |
| A folder (Files view) | New folder… · Add files here… · Open in Explorer · Collapse all · Optimize folder |
| A file (Files view) | Open · New folder here… · Show in Explorer · Open in text editor (.meta) · Optimize (.ytd/.ydr/.ydd/.yft) · Copy path · Copy name |
Opening files
Section titled “Opening files”Double-click or Open a file and the studio picks the page for it: models (.yft/.ydr/.ydd) open in Preview; a .meta with “handling” in its name opens in Handling, any other .meta in the Meta editor; .lua opens in your default editor. Texture files load together with their model.
Tabs and history
Section titled “Tabs and history”Each page opens once as a tab. The mouse Back and Forward side buttons move through the tabs you visited, like in a browser. The studio remembers the window size and position, and which Advanced sections you left open.
When FiveM is running
Section titled “When FiveM is running”While FiveM or GTA V runs, the status bar says FiveM / GTA is running: Studio works at low priority and on fewer files at once. Big jobs get slower, so your game doesn’t stutter. When the game closes: FiveM / GTA closed: Studio is back to full speed.